 Polski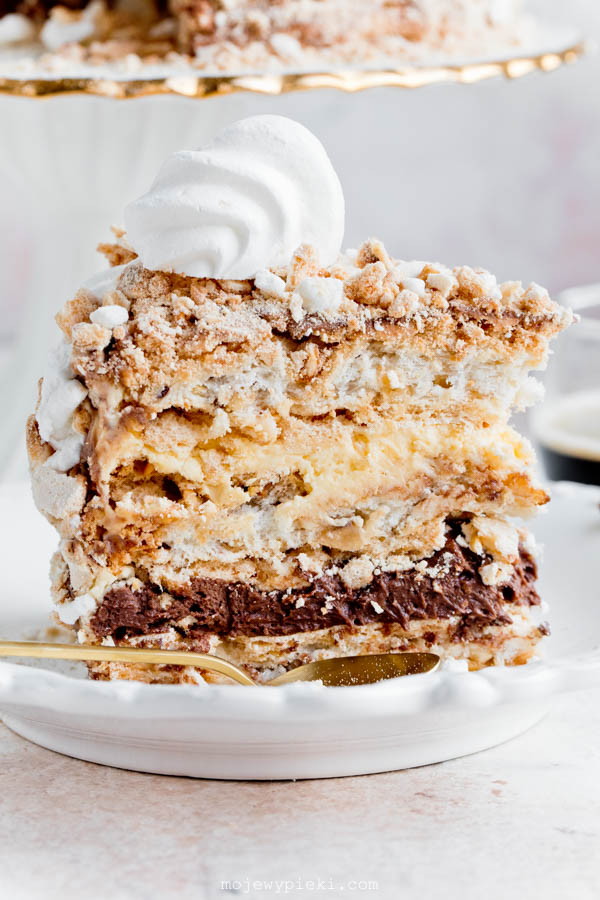
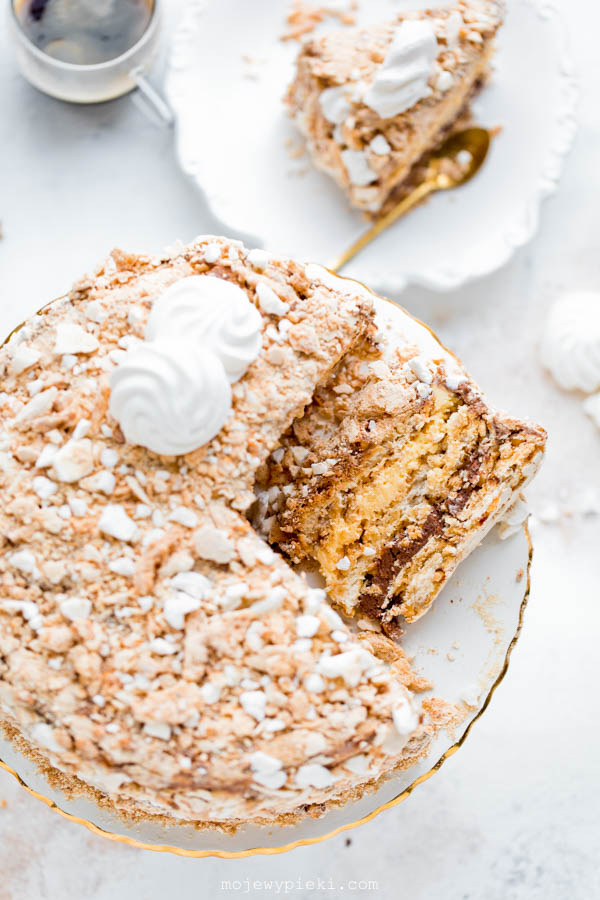
Kyiv Cake is a traditional Ukrainian celebration cake made with crisp, nutty meringue layers sandwiched with delicious buttercream. What makes it so special? The wonderfully crisp meringue layers are made with toasted hazelnuts (although cashews were most commonly used in the original cake), layered with vanilla and chocolate buttercream and finished with plenty of crushed meringue crumbs. I came across many different recipes for Kyiv Cake, some including sponge cake or a condensed-milk buttercream; however, this recipe, or very similar variations of it, seemed to be the version most often recreated by Ukrainian food bloggers and creators. It clearly evokes a great deal of nostalgia for them and is strongly associated with the flavours of childhood.
The cake is iconic and has been known in what is now Ukraine since the 1950s. It became a sweet symbol of Ukraine, although it is also popular in many other post-Soviet countries. According to legend, it was created by accident. A pastry chef forgot to refrigerate a batch of egg whites after his shift and, rather than waste them, the bakery quickly came up with a new recipe. The cake was a hit, and although the original recipe is closely guarded by the company that produces it, home bakers recreated it and the recipe spread widely. Today, its distinctive flavour is familiar to virtually everyone in Ukraine.
Ingredients for the nut meringue layers:
- 8 large egg whites (320 g)
- 400 g caster sugar
- 250 g hazelnuts or cashews
- 60 g potato starch
- a large pinch of salt
All ingredients should be at room temperature.
Toast the hazelnuts in a dry frying pan or in the oven at 180°C, stirring from time to time. Remove the brown skins; the easiest way is to wrap the nuts in a paper towel and rub them between your hands (the skins can make the meringue taste bitter). Leave the nuts to cool completely, then finely chop and set aside.
Line three flat baking trays with baking paper. Using a plate as a guide, draw a 21 cm circle on each sheet of baking paper.
Place the egg whites and salt in the bowl of a stand mixer and whisk until stiff. Towards the end of whisking, begin adding the caster sugar, one tablespoon at a time (this is important – add it gradually and slowly), whisking continuously. Once the meringue is thick and glossy, add the chopped hazelnuts and sifted potato starch. Gently fold everything together with a spatula. Divide the mixture between the prepared trays, spreading it into three 21 cm round meringue layers.
Bake all three trays at the same time at 150°C for about 60–75 minutes, or until the meringue layers are crisp. They should feel crisp and dry both on the surface and underneath, rather than soft or moist. The baked layers will be relatively flat rather than tall and will crack as they bake.
Ingredients for the buttercream:
- 8 large egg yolks (140 g)
- 180 g caster sugar
- 20 g vanillin sugar
- 240 ml milk
- 360 g butter
- 20 g cocoa powder, sifted
All ingredients should be at room temperature.
Pour the milk into a saucepan and add the caster sugar and vanilla sugar. Bring to the boil, then remove from the heat and leave to cool slightly. The mixture should remain hot, but not boiling.
In a separate bowl, gently whisk the egg yolks with a hand whisk, just until combined – do not whisk until fluffy. Gradually whisk in half of the hot milk. Pour the mixture back into the saucepan with the remaining milk, return to the heat and cook, stirring continuously with a whisk, until you have a thin custard. Remove from the heat and cover with cling film, pressing it directly onto the surface of the custard. Leave to cool to room temperature, then refrigerate overnight.
The following day, remove the custard from the fridge in advance so that it can come back to room temperature. The custard and butter must be at the same temperature.
Place the butter in the bowl of a stand mixer and beat until pale and fluffy. Gradually add the custard, beating continuously until fully incorporated. Divide the buttercream into two equal portions. Add the sifted cocoa powder to one portion and beat until combined.
Note: Traditionally, a little cognac can be added to the buttercream; I left it out.
Assembly:
Trim the meringue layers back to their original 21 cm diameter, as they will almost certainly have spread slightly during baking. Keep the trimmings and crush them into crumbs.
Place the first meringue layer on a serving plate. Spread with the chocolate buttercream, reserving some for the top and sides. Place the second meringue layer on top and cover with the vanilla buttercream, again reserving some for the top and sides. Finish with the final meringue layer and press down gently. Spread the remaining buttercream over the top and sides of the cake. Coat the sides with the crushed meringue crumbs. Sprinkle the top with finely ground or crushed hazelnuts (you can also use meringue crumbs) and decorate as desired. I didn’t have many meringue crumbs left, so I added a few small crushed meringues as extra decoration.
Refrigerate the Kyiv Cake. Store in the fridge for up to 5 days. Remove from the fridge about 1 hour before serving to allow the buttercream to soften.
Enjoy!
Recipe adapted from Julia (instagram.com)
I read all comments, but unfortunately I can't answer them all. Before posting a question, make sure nobody has asked a similar one (this will be facilitated by the search engine included in the comments). Comments with links may not be published.
Blog author