 Polski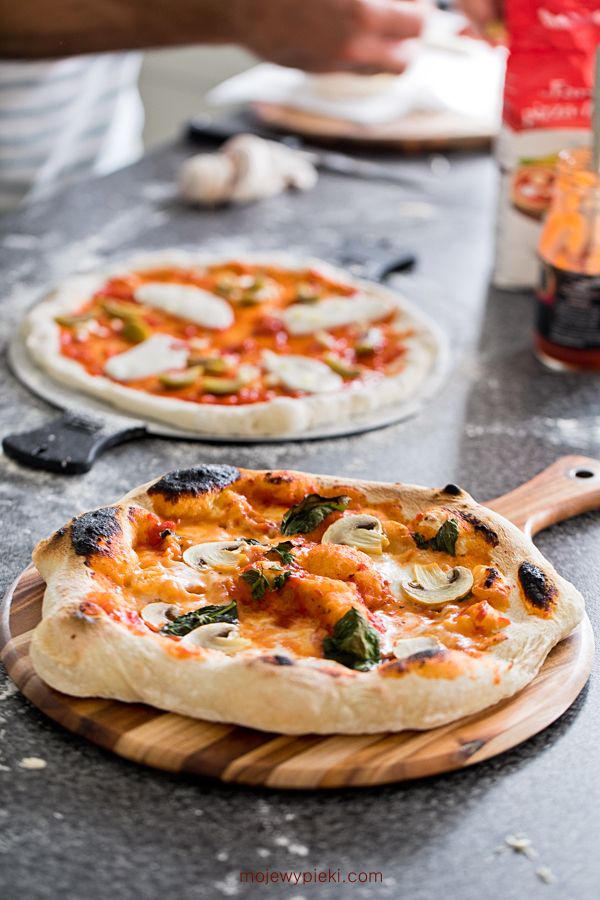
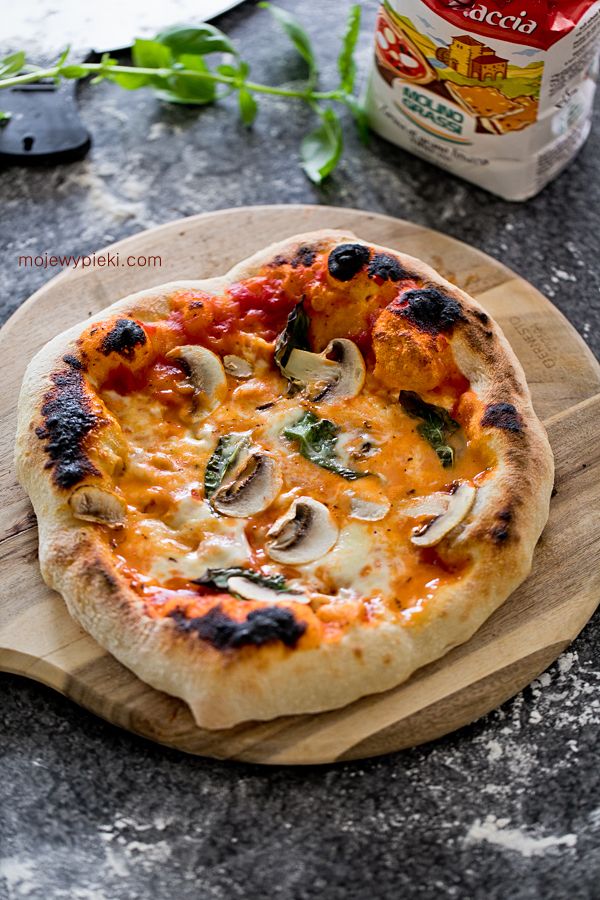
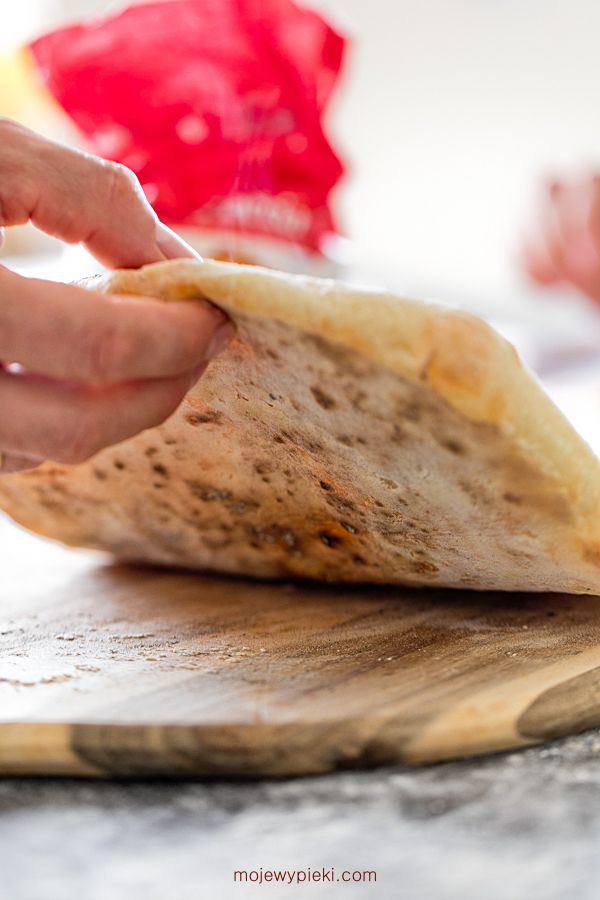
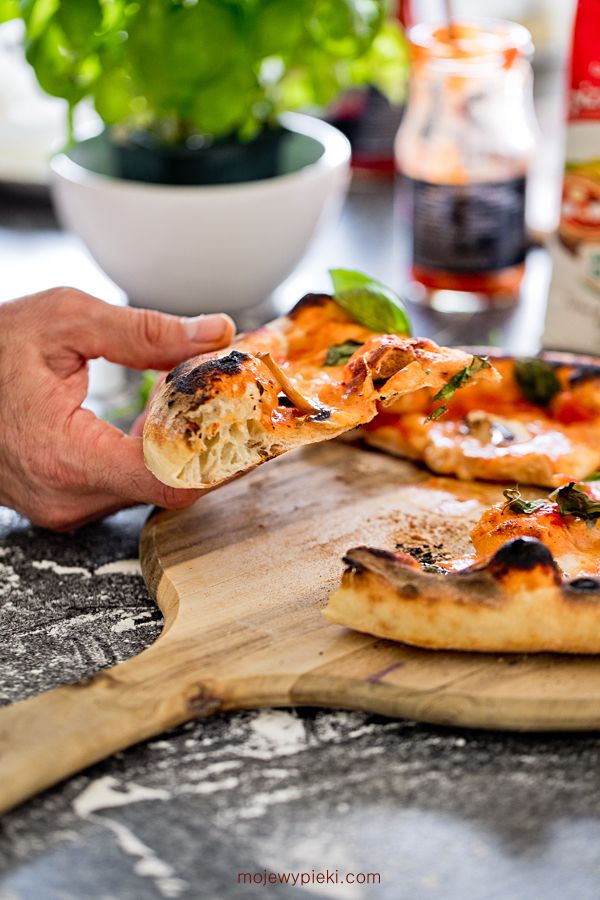
My favourite Italian pizza dough, tested and perfected many times over – simply the best! It makes a perfect, thin pizza base with a classic, slightly thicker crust that is lightly crisp on the outside yet soft inside. The toppings are entirely up to you; I’ve been making classic Neapolitan pizza for about a month now, and we still can’t get enough of it ;). A wood-fired oven is ideal for this style of pizza because of the high temperatures it reaches, but you can absolutely make it at home too – otherwise I wouldn’t be sharing this recipe! This recipe is perfect if you want to prepare the dough in the morning and bake the pizzas in the evening. You can even make the dough up to 2 days in advance by reducing the amount of yeast – see the note in the recipe. Importantly, the dough contains no olive oil, which makes the crust crispier and gives the crumb a more open, airy texture. Drizzle the finished pizza lightly with olive oil just before serving. For this pizza, use the best-quality type 00 flour you can find (I recommend Caputo or Molino Grassi), the best tomatoes (San Marzano) and authentic Italian mozzarella (Galbani). It’s also worth experimenting with different brands, which I’m constantly doing myself. This Italian pizza dough really is hard to beat!
Makes 6 portions.
Ingredients for the pizza dough:
- 1000 g type 00 flour
- 700 g water (at 32–35°C / 90–95°F)
- 20 g fine salt
- 2 g instant dry yeast or 4 g fresh yeast (I recommend using fresh yeast!)
Prepare a large bowl or the bowl of a stand mixer.
AUTOLYSE
Remove 3 tbsp of the water (from the 700 ml) and mix it in a small bowl with the yeast until dissolved. Pour the remaining water into the mixing bowl and add the flour. Mix using the dough hook (or mix by hand). Cover tightly with a lid or cling film and leave at room temperature for 20–30 minutes to autolyse. During autolyse, the dough rests: the flour absorbs the water, the enzymes naturally present in the flour become active, and the gluten network begins to develop.
MIXING
After this time, pour the dissolved yeast over the dough and sprinkle in the salt. Mix using the dough hook (or by hand). Once the ingredients have been mixed, begin folding the dough to fully incorporate everything. Reach underneath the dough with your hand, lift it up and stretch it firmly, then fold it back over itself (repeat several times). Cover tightly with a lid or cling film and leave to rise for 6 hours.
FOLDING AND RISING
The 6-hour rising time applies to an ambient temperature of 21°C. If the room is warmer, the dough will rise more quickly. Ultimately, the dough should double in volume. During the rise, fold the dough once, 30–60 minutes after the start of rising. Follow the method described above: reach underneath the dough, lift it up and stretch it firmly, then fold it back over itself (repeat several times).
DIVIDING
Once the dough has risen, divide it into 6 portions of approximately 280 g each. Lightly flour your work surface and transfer the dough onto it, then dust the dough lightly with flour. Using a knife or dough scraper, divide it into equal portions. Shape each portion into a neat ball, handling it gently and taking care not to knead or deflate the dough. Place the dough balls on a lightly floured tray or in a container, leaving plenty of room for them to expand. Cover tightly with cling film and leave at room temperature for 30–60 minutes. Then place in the refrigerator for at least 30 minutes, which will make the dough easier to shape into pizzas.
NOTE: The dough balls can be kept in the refrigerator for up to 2 days, so there is no need to bake all 6 pizzas on the same day. The dough is actually even tastier the next day and easier to shape. If you are deliberately planning to bake the pizzas the day after shaping the dough balls, reduce the yeast to 0.8 g dry yeast or 1.6 g fresh yeast. In this case, the dough balls should remain in the refrigerator for at least 6 hours and can be kept there for up to 2 days.
SHAPING AND BAKING
45 minutes before baking, preheat a pizza stone at the highest temperature your oven can reach.
Lightly flour your work surface with plain flour. Dust a pizza peel with flour as well.
Remove one dough ball from the refrigerator and gently press it down in the centre with your fingertips. Turn the dough over and repeat, leaving approximately a 2.5 cm (1 inch) border around the edge untouched. Stretch the dough by lifting it up and allowing gravity to do most of the work rather than stretching it by hand. The centre should be quite thin, but not transparent and without holes (any holes can be patched). Once you have formed a round pizza base, transfer it to the pizza peel and add your chosen toppings: pizza sauce, mozzarella, basil, etc.
Bake at 315°C for approximately 5 minutes, watching the pizza closely and turning it if necessary or shortening the baking time. If oil separates from the cheese, the pizza has been baked for too long. In specialist pizza ovens or wood-fired ovens, the baking time is shorter (as little as 1.5–3 minutes), at temperatures of 390–500°C.
Use the pizza peel to transfer the pizza to a board or plate and serve. It is easiest to cut once the melted mozzarella has had a little time to set.
Enjoy!

I read all comments, but unfortunately I can't answer them all. Before posting a question, make sure nobody has asked a similar one (this will be facilitated by the search engine included in the comments). Comments with links may not be published.
Blog author