 Polski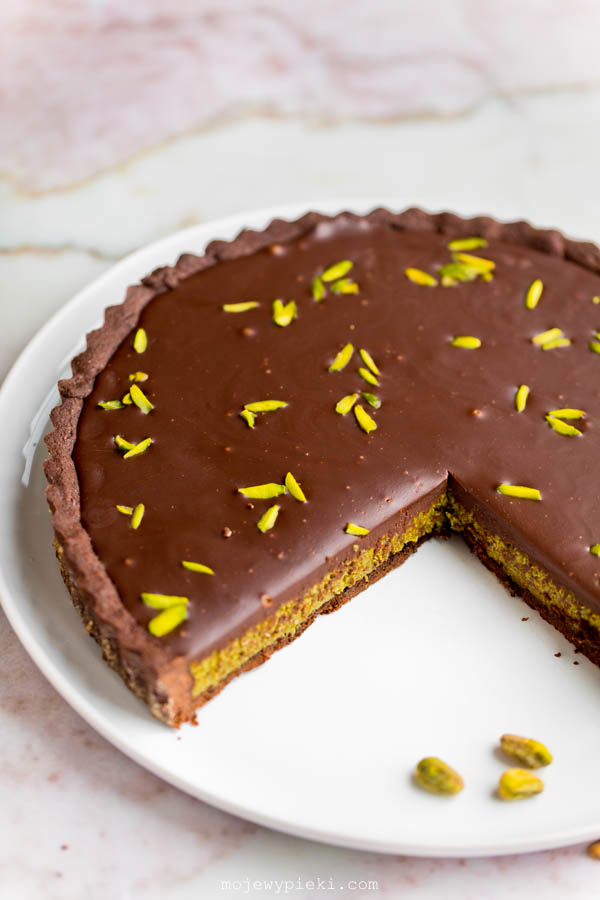
Dubai chocolate needs little introduction these days. Even if you haven’t had the chance to taste it yet, you’ve almost certainly seen it all over social media. The now-famous combination of chocolate, pistachio paste (or pistachio spread) and crisp kataifi pastry is inspired by Middle Eastern desserts and brings together an irresistible mix of flavours and textures. It’s no surprise that it has become one of the most sought-after dessert trends, inspiring countless new creations.
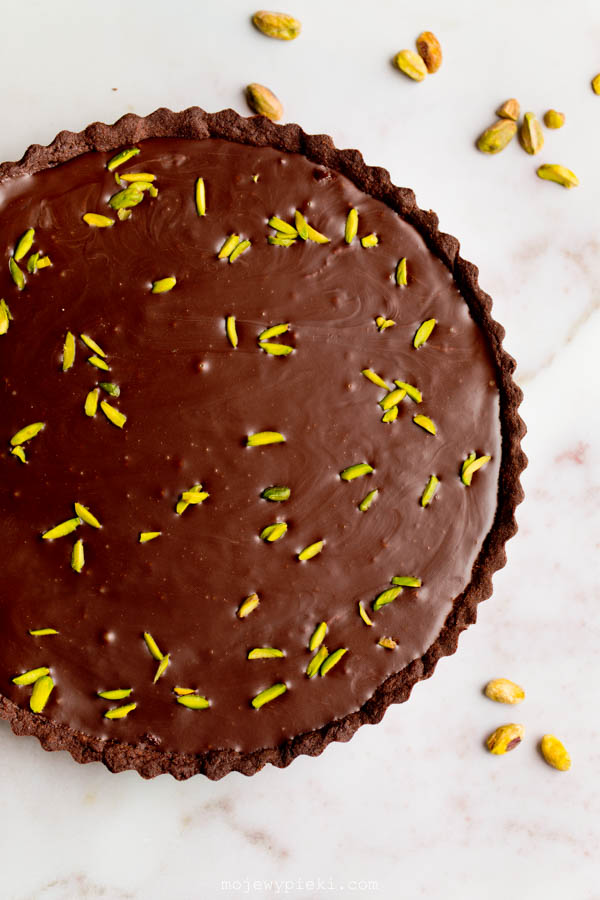
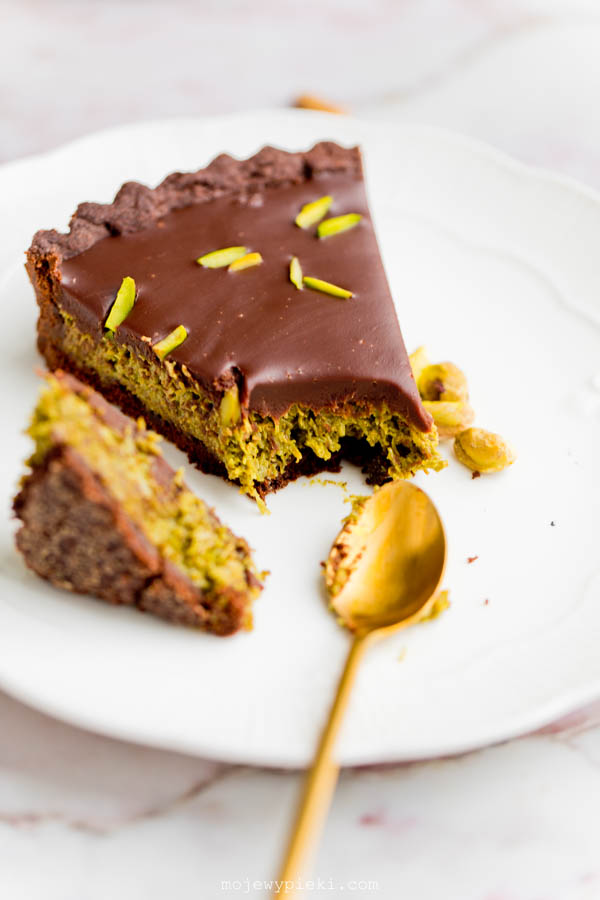
This Dubai chocolate tart is one of them. A crisp chocolate shortcrust pastry is filled with a crunchy pistachio and kataifi filling, then topped with a silky milk chocolate ganache. It’s incredibly moreish! While it isn’t the cheapest dessert to make – good-quality pistachio products can be expensive, and kataifi pastry isn’t usually found in your local supermarket – I promise it’s well worth the effort. It’s also much easier to make than it looks, and it disappears from the table in no time. Everyone will be asking you for the recipe!
Note: This recipe uses fresh kataifi pastry. You can also buy pre-toasted kataifi, which is already golden and crisp. If using that, simply mix it with the remaining filling ingredients – there’s no need to fry it in butter first.
Ingredients for cocoa shortcrust pastry:
- 175 g plain flour
- 30 g cocoa powder
- 125 g cold butter, diced
- 1 large egg yolk
- 50 g caster sugar
- a generous pinch of salt
- 1 tablespoon cold water
Sift the flour and cocoa powder into a bowl. Add the butter and rub it into the flour until the mixture resembles coarse breadcrumbs. Alternatively, prepare the pastry in a food processor. Add the egg yolk, sugar, salt and cold water, then quickly bring the dough together. Shape into a disc, wrap in cling film, and chill for 30–60 minutes.
Grease a 25 cm tart tin (preferably with a removable base) and lightly dust with flour. Roll out the chilled pastry to about 3 mm thick and line the tart tin. Freeze for about 1 hour, or chill well in the refrigerator.
Prick the base with a fork just before baking. Preheat the oven to 200°C. Transfer the tart straight from the freezer to the oven, immediately reduce the temperature to 180°C, and bake for 20–22 minutes, or until fully baked. If the base starts to puff up, prick it gently with a fork during baking. Leave to cool completely.
Ingredients for pistachio kataifi filling:
- 60 g butter
- 250 g fresh kataifi pastry
- 320 g pistachio spread (or sweetened pistachio paste; if using 100% pistachio paste, sweeten to taste)
- 50 g tahini
- a pinch of salt
Melt the butter in a large frying pan. Cut the kataifi pastry into short pieces, add it to the butter and cook over a medium heat, separating the strands as you go, until crisp and golden. Remove from the heat and leave to cool completely. Place the toasted kataifi into a bowl. Add the pistachio spread (if it’s too firm, warm the jar briefly in hot water first), the tahini and the salt. Mix gently until evenly combined.
Ingredients for chocolate ganache:
- 110 ml double cream
- 135 g milk chocolate, finely chopped
- 50 g dark chocolate (50–70% cocoa), finely chopped
Heat the double cream until just below boiling. Remove from the heat, add both chocolates and leave to stand for 2 minutes. Stir until smooth and glossy. If necessary, pass the ganache through a fine sieve for an ultra-smooth finish. Allow it to cool slightly, but keep it pourable.
Assembly:
Spread the pistachio kataifi filling evenly over the cooled chocolate pastry case. Pour over the chocolate ganache and spread it evenly. Decorate as desired. Refrigerate until the ganache has set.
For the best flavour and texture, store the tart at room temperature before serving, as the ganache will remain beautifully soft and the tart will be easier to slice. For longer storage, keep it in the refrigerator.
Enjoy!
I read all comments, but unfortunately I can't answer them all. Before posting a question, make sure nobody has asked a similar one (this will be facilitated by the search engine included in the comments). Comments with links may not be published.
Blog author